Creating an email
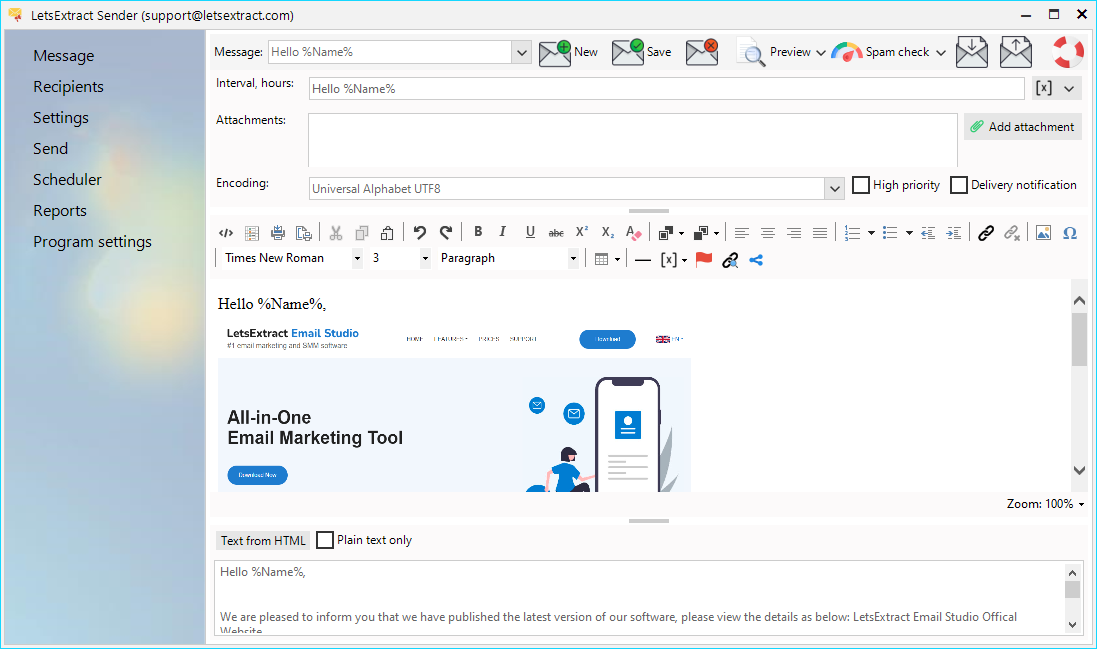
To create a new email, click the New button in the toolbar. A template selection window will appear:
-
Blank – a new blank email will be created.
-
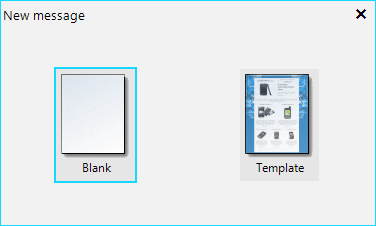
Template – a new email will be created based on one of the existing templates:
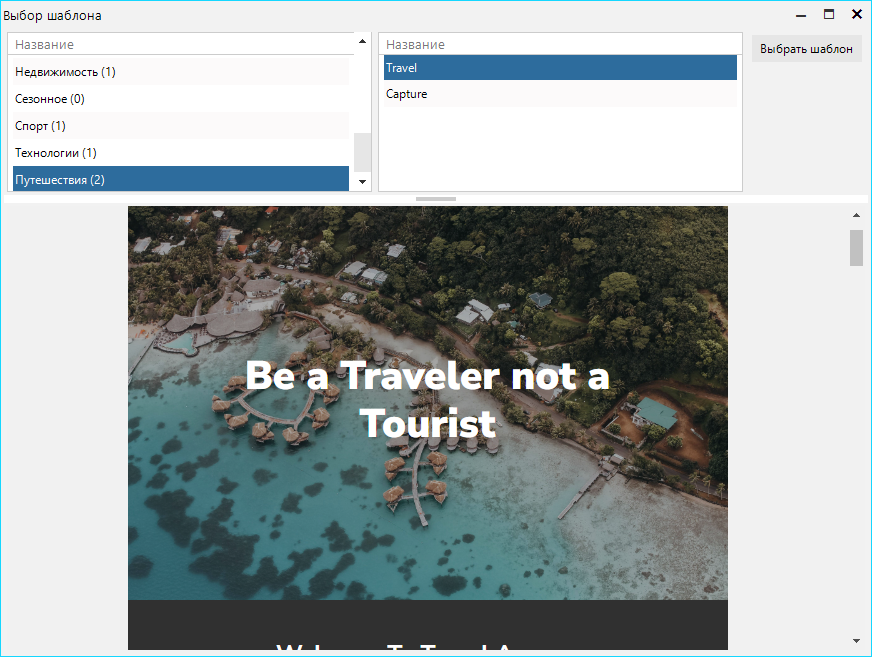
Preview
-
In browser – an HTML or TXT file will be generated (depending on whether the "plain-text only" checkbox is selected) and opened with a default browser.
-
In email client – an eml file will be generated and opened with a default email client.
Spam check
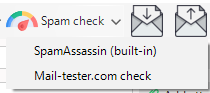
SpamAssassin (built-in) – an email will be checked for spam using the built-in SpamAssassin filter. The result is scored on a scale from 0 to 10:

0...2 (green) is a great result. Most spam filters won't block your email.
2...6.2 (yellow) is an average result. Your email is properly written, but there is still some work to do. Review the list of recommendations and try to improve your email.
6.2...10 (red) is a poor result. Update your email as recommended.
Mail-tester.com check – a proper email will be generated and sent to a random address of the mail-tester.com service. To do that, you must have a completed and operational SMTP server settings profile:
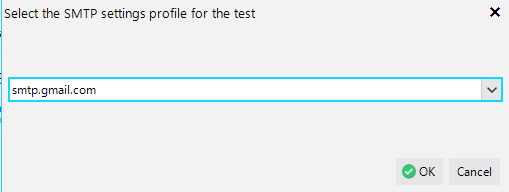
After selecting a profile, the program will create an email and send it. You can do up to 3 checks per day for free through the mail-tester.com service:
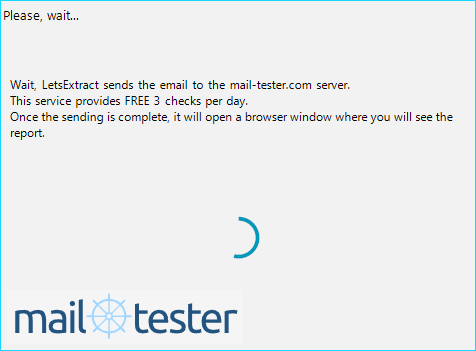
After sending an email, a report will be opened in a browser. Example:
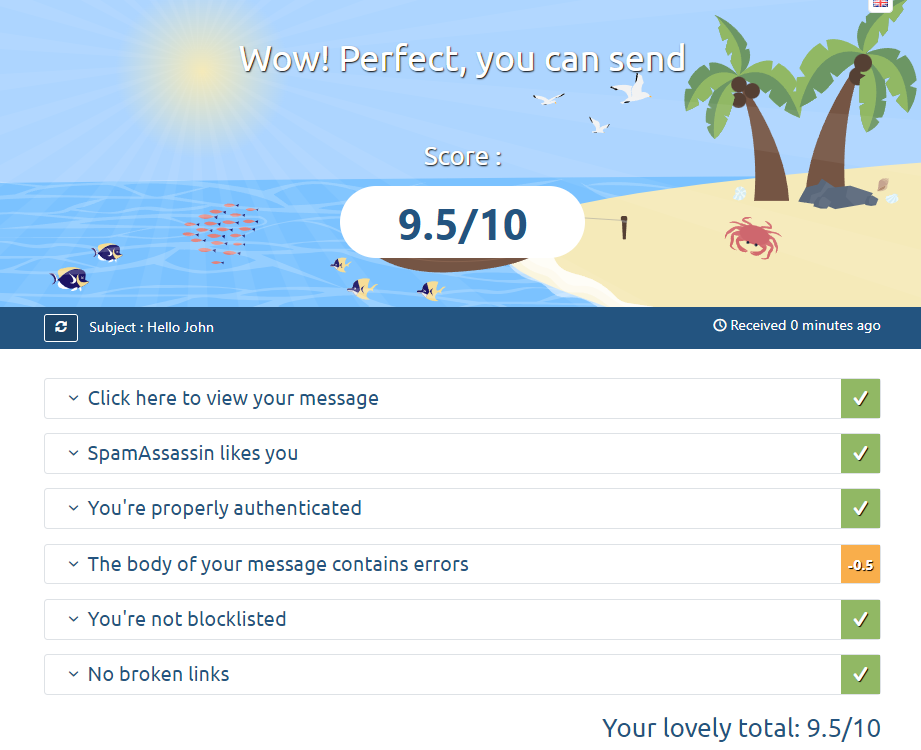
Carefully review the report page by clicking on the drop-down lists and update your email if possible.
Import and export
Clicking the corresponding buttons in the toolbar to import or export emails as eml files:
Attachments
You can attach any number of files to your email:

Note: Attachments significantly increase the email size and make sending/receiving slower.
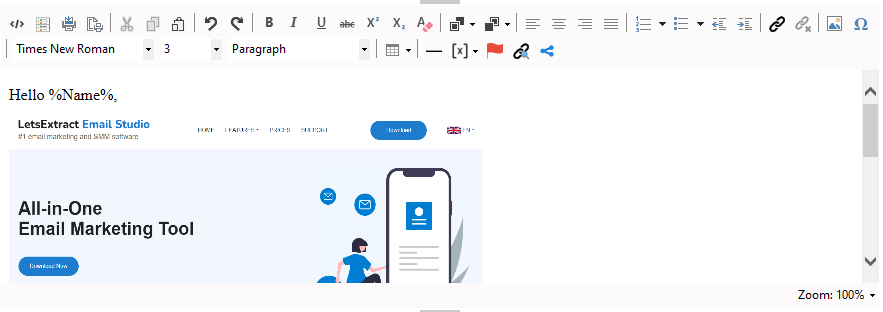
HTML message editing area (WYSIWYG)
Email Sender has a built-in visual HTML editor:
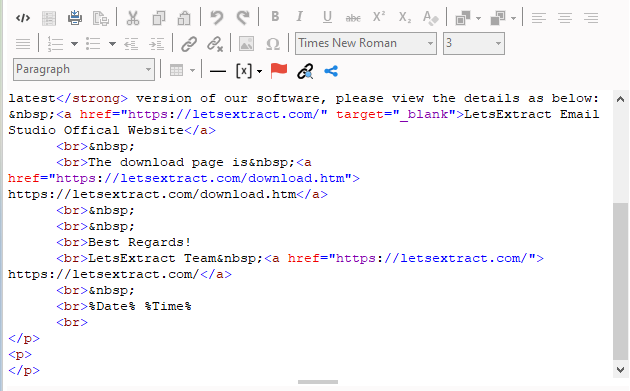
It has a typical interface. Various fonts, formatting, and colors are supported. To switch to HTML code mode, click on the  button:
Inserting hyperlinks
Inserting hyperlinksTo insert a hyperlink, click the 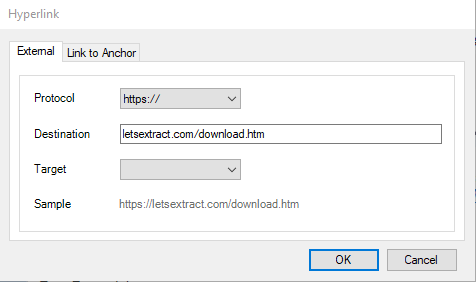
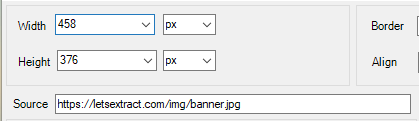
Inserting images
To insert an image, click the  button. In the appeared window, click the Browse button to select an image file from your computer. Then click OK to insert the image to your message.
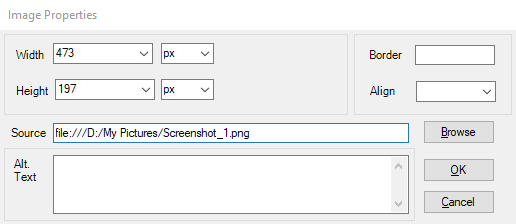
You can also insert images posted on the web. To do this, enter a URL of the image in the Source field and click OK:
Inserting an unsubscribe link
To insert an unsubscribe link, click the  button:
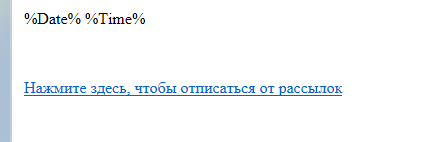
This is how the link will look in the message code:

Right before sending, the %UNSUBSCRIBE% tag variable will be replaced with a valid unsubscribe URL.
Inserting the %% variable tags
You can add variable tags to the title or body of your message. They will be replaced with values before sending. Learn more about tags in Email Sender.