Email recipients
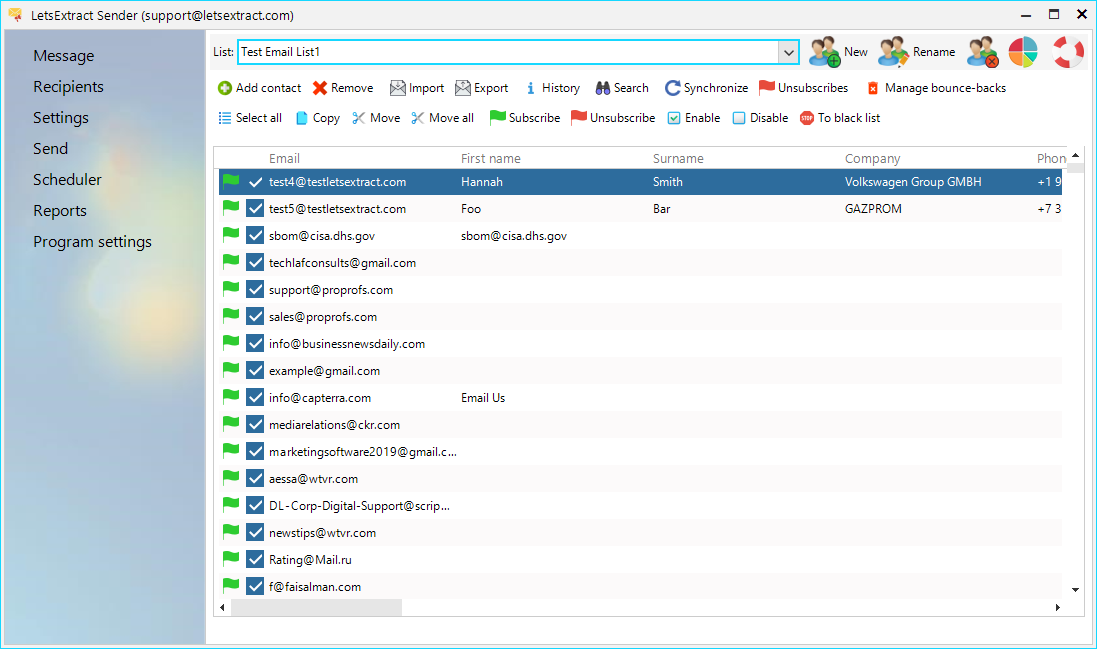
In the Recipients tab, you can manage the lists of email addresses that will be the recipients of your message.
You can create, rename, or delete recipient lists using the tools at the top of the tab. Use a drop-down list to select the current recipient list.
Note: The Blacklist list cannot be deleted.

Adding recipients
Methods of adding email addresses:
-
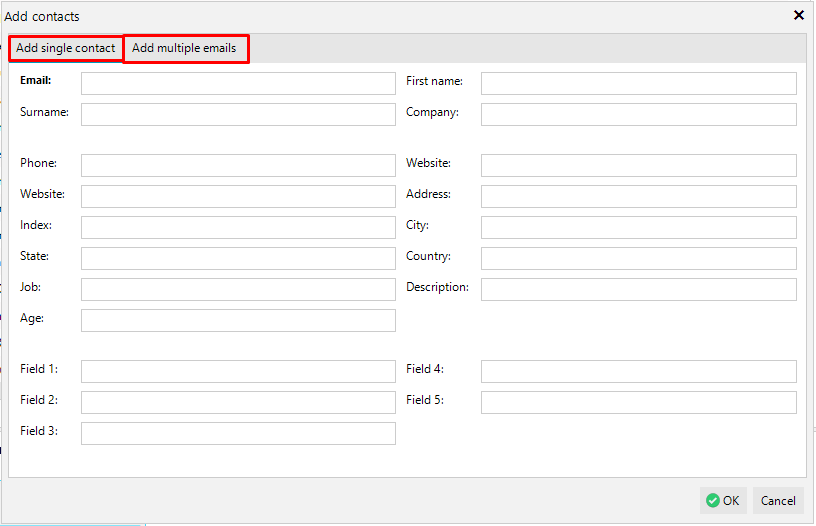
Manually. Click the Add button.

On the first tab, you can add contacts, one by one. The Email field is mandatory. On the second tab, you can add email addresses as a list, one per line.
-
Import from file. Click the Import button.
In the appeared window, you can select one of the original file formats.
-
CSV file, Excel documents (XLS/XLSX files) – email addresses and additional fields (name, site, etc.) will be imported.
-
Clipboard and TXT files – only email addresses will be imported.
Other actions with recipients
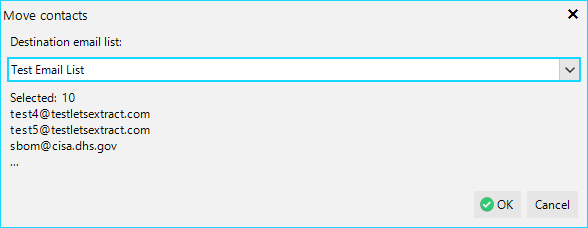
Selected contacts can be copied (the Copy button) and moved (the Move button) to other lists:

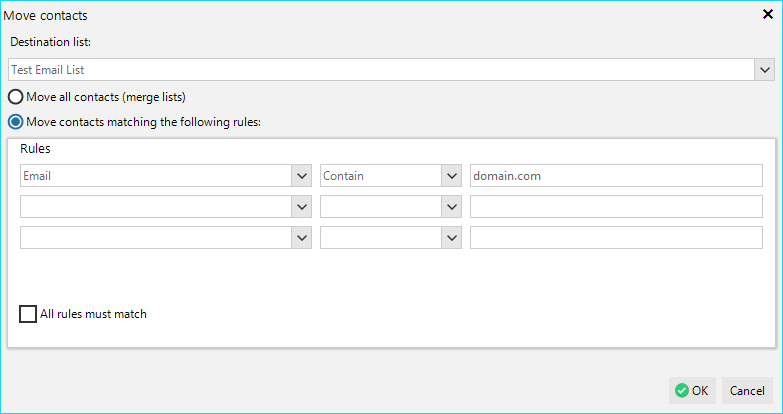
You can move contacts matching the rule or all of them (the Move all button):

Moving a contact to the Black list means it will be excluded from any future emailing.
Status
For the letter to be sent to the recipient, this contact must be Subscribed ( ) and Activated (
 ). These statuses can be changed manually using the context menu or the corresponding buttons in the toolbar.